


Timber floors are not just a functional aspect of your home but a statement of style and sophistication. In Melbourne, where timber floor aesthetics are highly valued, ensuring your floors are well-sanded is crucial for maintaining their allure. Crafting a finishing sample kit can be invaluable in your quest for the Best Floor Sanding finish. In this blog post, we’ll explore how to create a finishing sample kit and why it’s essential for Timber Floor Sanding Services in Melbourne.
Understanding the Importance of a Finishing Sample Kit
A finishing sample kit is a collection of sample finishes applied to small sections of your timber floor. It allows you to experiment with different finishes, stains, and sealants before completing a full sanding and refinishing job. This process helps you visualize how different finishes will look in your space and choose the one that best complements your interior decor and personal preferences.
Steps to Create Your Finishing Sample Kit
1. Gather Materials
Gather the materials for your finishing sample kit, including small sections of timber flooring, sandpaper, finishing products (such as stains, sealants, and varnishes), brushes, and protective equipment.
2. Prepare the Surface
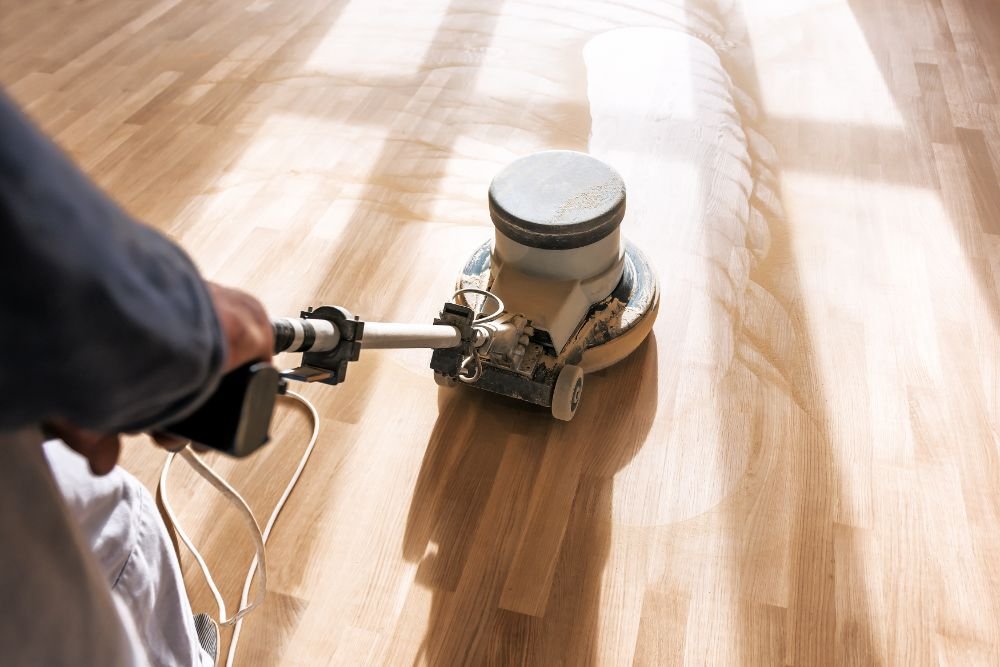
Sand small sections of your timber floor to create a smooth, even surface for applying the finishing products. Clean the surface thoroughly to remove any dust, dirt, or debris that may interfere with the finish.
3. Apply the Finishes
Divide your timber floor sections into small squares or rectangles, and apply a different finish to each section. Experiment with various stains, sealants, and varnishes to see how they interact with the wood and complement your space’s aesthetic.
4. Allow for Drying Time
Allow each section to dry completely per the manufacturer’s instructions before evaluating the finish. Keep in mind that the appearance of the finish may change as it dries, so be patient and allow sufficient drying time before making your final decision.
5. Evaluate and Compare
Once the finishes have dried, evaluate and compare the appearance of each section. Consider factors such as colour, sheen, texture, and durability. Pay attention to how the finishes interact with the natural grain and characteristics of the wood.
6. Make Your Selection
Based on your evaluation, choose the finish that best matches your desired aesthetic and meets your practical needs. Remember that the finish you choose will significantly impact the overall look and feel of your timber floors, so take your time and decide wisely.
Why a Finishing Sample Kit is Essential for Timber Floor Sanding Services in Melbourne
Creating a finishing sample kit is essential for timber floor sanding services in Melbourne for several reasons:
Visualize the End Result: A finishing sample kit allows you to visualize how different finishes will look in your space, helping you decide which finish to choose.
Tailored to Your Preferences: By experimenting with different finishes, you can tailor the look of your timber floors to your specific preferences and interior decor style.
Minimize Costly Mistakes: Creating a finishing sample kit helps minimize the risk of costly mistakes by allowing you to test different finishes before committing to a complete sanding and refinishing job.
Collaborate with Professionals: A finishing sample kit provides a valuable tool for collaborating with timber floor sanding services in Melbourne, allowing you to communicate your preferences and expectations.
In conclusion,
crafting a finishing sample kit is essential in the timber floor sanding process. By creating a collection of sample finishes, you can visualize the result, tailor the look of your timber floors to your preferences, minimize costly mistakes, and collaborate effectively with timber floor sanding services in Melbourne. With a well-crafted finishing sample kit, you can ensure that your timber floors are sanded and finished to perfection, enhancing the beauty and value of your home for years to come.
